Photography is more than just Photeeq Lens Flare capturing a subject—it’s about telling a story, evoking emotions, and creating an atmosphere that feels alive. One of the most artistic tools photographers and editors use to enhance their images is lens flare. Among the many plugins and editing tools available, Photeeq Lens Flare has become a go-to solution for professionals and hobbyists who want to infuse their photos with dramatic lighting effects.
In this guide, we’ll dive deep into what Photeeq Lens Flare is, why it’s popular, how it works, and how you can use it to take your photography to the next level.
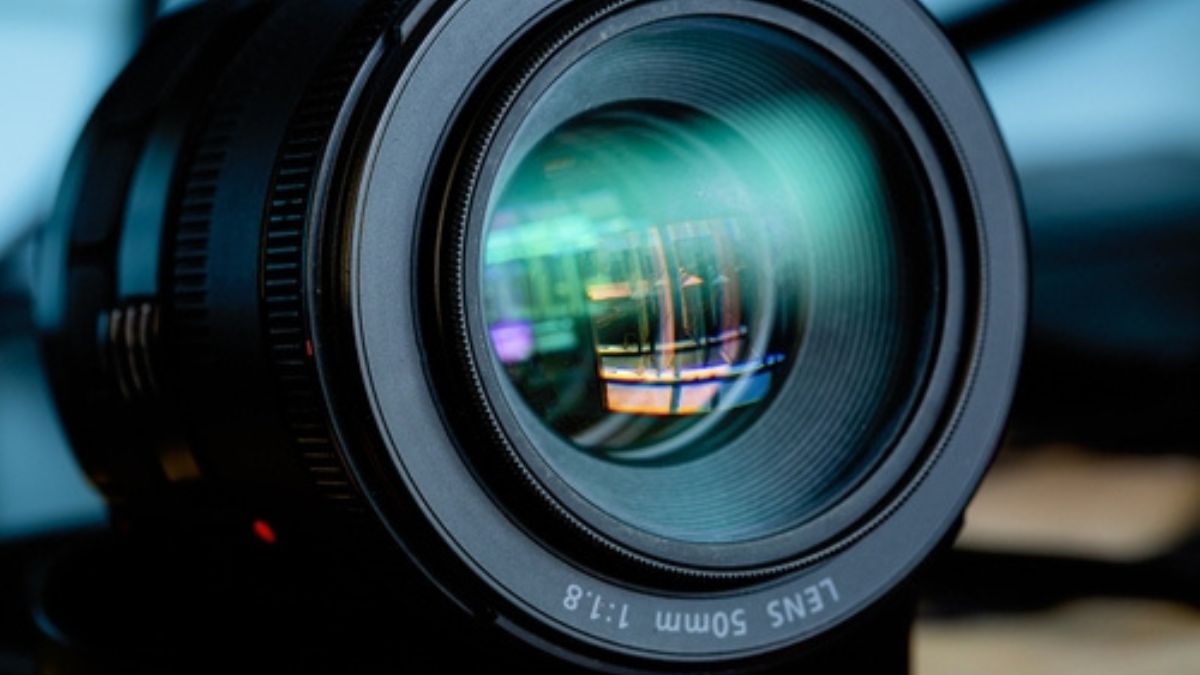
What is Photeeq Lens Flare?
Photeeq Lens Flare is a digital photography plugin designed to simulate realistic lens flare effects in photos. It integrates seamlessly with photo editing software like Adobe Photoshop and Lightroom, allowing photographers to add cinematic light streaks, glows, and reflections to their images.
Lens flare naturally occurs when bright light sources, such as the sun or streetlamps, interact with a camera lens. Instead of waiting for the “perfect natural flare” moment while shooting, Photeeq gives you the ability to recreate and control these effects digitally with precision.
Why Lens Flare Matters in Photography
Some photographers consider lens flare a flaw, while others embrace it as an artistic tool. When used intentionally, lens flare can:
- Add Drama and Depth – A subtle flare can give an image a more three-dimensional feel.
- Create Atmosphere – Sun flares or light leaks can evoke warmth, nostalgia, or cinematic vibes.
- Enhance Storytelling – A flare shining across a subject can convey energy, hope, or mystery.
- Make Photos Look Cinematic – Many filmmakers rely on lens flares to achieve a signature Hollywood look.
Photeeq Lens Flare allows photographers to harness these benefits without compromising the quality of their original image.
Key Features of Photeeq Lens Flare
Photeeq stands out among editing tools because it balances ease of use with professional-grade customization. Some of its top features include:
1. Realistic Effects
The software mimics how light naturally scatters through a camera lens, producing flares that look authentic rather than artificial.
2. Customizable Controls
Users can adjust brightness, size, color, opacity, and angle of the flare, ensuring full creative control.
3. Compatibility with Major Software
It integrates with Photoshop and Lightroom, meaning you don’t have to learn a new editing platform.
4. Variety of Presets
Photeeq comes with multiple built-in presets for quick application, perfect for beginners who want instant results.
5. Non-Destructive Editing
All changes are reversible, allowing you to experiment without damaging your original photo.
How to Use Photeeq Lens Flare
Using Photeeq Lens Flare is straightforward, even if you’re new to editing plugins. Here’s a step-by-step guide:
- Install the Plugin
Download and install Photeeq Lens Flare, then open Photoshop or Lightroom. - Open Your Image
Select the photo you want to enhance. Ideally, choose images with strong light sources for the most dramatic results. - Choose a Flare Effect
Browse through the presets or start customizing from scratch. - Position the Flare
Drag the flare to align with your light source—sun, lamp, or even reflections. - Adjust Settings
Tweak brightness, angle, and opacity until it looks natural and complements the mood of your photo. - Finalize and Save
Once satisfied, save your edited image in the format you need.
Tips for Creating Stunning Lens Flare Effects
While Photeeq makes adding lens flares easy, the art lies in knowing how much to use. Here are some professional tips:
- Keep It Subtle – Overusing lens flares can make photos look fake. Aim for enhancement, not distraction.
- Match the Light Source – Always position the flare where light naturally enters the frame.
- Use Warm Tones for Sunlight – Golden yellows and oranges create a warm, natural look.
- Experiment with Cinematic Colors – Blues, purples, or teal flares can give an edgy, film-inspired vibe.
- Blend with the Environment – Adjust opacity so the flare looks like part of the scene rather than an add-on.
Benefits of Using Photeeq Lens Flare
- Saves Time – Instead of waiting for the perfect natural flare, you can create it instantly in post-production.
- Professional Quality – Produces results that rival high-end film effects.
- Enhances Creativity – Gives photographers and designers more tools to experiment with storytelling.
- User-Friendly – Great for beginners yet powerful enough for professionals.
- Affordable Alternative – Instead of investing in expensive lens filters or lighting setups, you can achieve similar results digitally.
Real-World Applications
Photeeq Lens Flare isn’t just for photographers—it’s also widely used in:
- Wedding Photography – To create romantic, sun-drenched images.
- Landscape Photography – To enhance sunsets, sunrises, or cityscapes.
- Portraits – Adding subtle highlights for dreamy effects.
- Advertising & Branding – To give products a high-end, cinematic appeal.
- Film Posters & Digital Art – For dramatic, eye-catching visuals.
Photeeq vs. Other Lens Flare Tools
While other editing tools like Nik Collection, Topaz, or even Photoshop’s built-in filters offer flare effects, Photeeq stands out for its realism and simplicity.
- Photoshop Lens Flare Filter – Offers basic options but lacks depth and realism.
- Topaz Plugins – Great for enhancements but more complex for beginners.
- Photeeq Lens Flare – Strikes a balance between professional control and beginner-friendly use.
Final Thoughts
In photography and design, light isn’t just a technical element—it’s the soul of the image. Photeeq Lens Flare empowers photographers to harness light creatively, even when natural conditions don’t cooperate. Whether you’re aiming for a cinematic sunset, a dreamy wedding portrait, or a bold advertisement, Photeeq makes it possible to transform ordinary photos into extraordinary works of art.
If you want your images to glow with atmosphere, depth, and emotion, adding Photeeq Lens Flare to your editing toolkit is a decision you won’t regret.
FAQs About Photeeq Lens Flare
Q1. Is Photeeq Lens Flare beginner-friendly?
Yes, it comes with presets and easy drag-and-drop functionality, making it accessible for beginners.
Q2. Does it work with both Photoshop and Lightroom?
Absolutely! It’s compatible with both, ensuring flexibility for photographers.
Q3. Can I customize the lens flare effects?
Yes, you can adjust color, intensity, angle, and size for complete creative control.
Q4. Will adding flares reduce image quality?
No, Photeeq uses non-destructive editing, preserving the original image quality.
Q5. Is Photeeq better than Photoshop’s built-in flare filter?
Yes, it’s more realistic and versatile, offering professional-grade results.